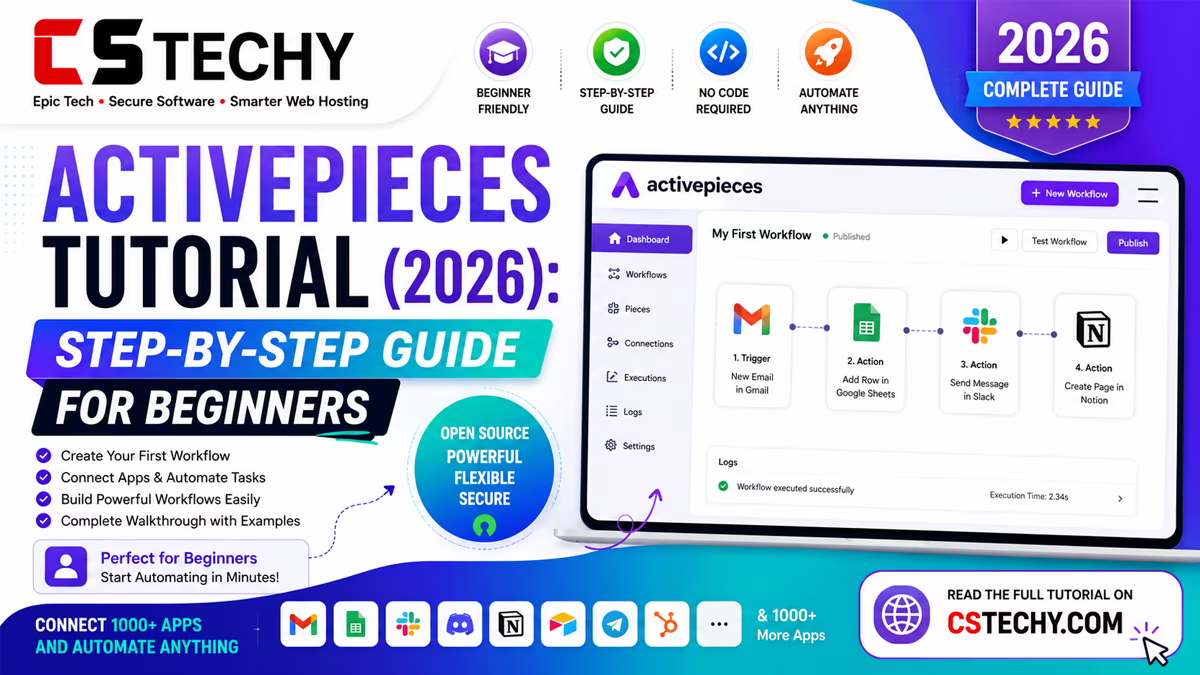
Automation > Workflow Automation > Activepieces
Activepieces Tutorial (2026): Step-by-Step Guide for Beginners
Activepieces is built to feel approachable even though it’s fully open-source, and getting your first automation running takes far less time than most beginners expect. This tutorial walks through the whole process, from creating an account to publishing a working flow.
Whether you choose the managed cloud version or self-host it on your own server, the actual flow-building steps are identical, so this guide applies either way.
It’s written for complete beginners as well as anyone migrating a simple Zapier or Make workflow over to Activepieces for the first time.
What Is Activepieces?
Activepieces is an open-source, no-code automation platform that connects apps through visual “flows”, built from a trigger step and one or more action steps. It can be self-hosted for free or used through Activepieces’ managed cloud.
Before You Start
- Decide whether you’ll use the cloud version or self-host on your own server.
- Have login details ready for the apps you plan to connect.
- Know exactly what you want the automation to do — write it as one plain sentence first.
Step 1: Create Your Activepieces Account
- Go to the Activepieces sign-up page and create a free account, or deploy a self-hosted instance if you’re managing your own server.
- Verify your email address if using the cloud version.
- Log in to the main dashboard.
Step 2: Choose Cloud or Self-Hosted
The cloud version requires no setup beyond creating an account, while self-hosting means deploying Activepieces on your own server using its official installation instructions.
Both routes lead to the same flow builder, so choose based on whether your team can manage a server, not on any difference in features within the builder itself.
Step 3: Build Your First Flow
- From the dashboard, click to create a new flow.
- Give the flow a clear, descriptive name.
- You’ll land on the visual builder canvas, ready for your first trigger.
Step 4: Add a Trigger
- Click the trigger step and search for the app you want to start the flow.
- Choose the specific event, such as “new form submission” or “new row added”.
- Connect your account for that app when prompted.
- Configure any required fields for the trigger.
Step 5: Add Action Steps
- Click the plus icon below your trigger to add an action step.
- Search for the app you want the action to happen in.
- Choose the specific action, such as “send message” or “create record”.
- Map fields from the trigger step into the action step’s inputs.
Step 6: Add Branches and Conditions
For flows that need different outcomes depending on the data received, add a branch step and set the condition that decides which path runs.
This is useful for routing based on a value, such as sending high-priority leads to one channel and everything else to another.
Step 7: Add an AI Piece
- Add a new step and search for an AI piece, such as text generation or summarisation.
- Write a clear prompt describing what you want the AI step to output.
- Map the relevant input fields from earlier steps into the prompt.
- Test the AI step on its own before connecting it to further steps.
Step 8: Test Your Flow
- Use the built-in test feature to run the flow once with sample or real data.
- Check each step’s output to confirm fields mapped correctly.
- Fix any errors before moving on to publishing.
Step 9: Publish and Monitor
- Once testing looks correct, publish the flow to switch it on.
- Check the run history periodically to catch any failures early.
- Turn off or archive flows you’re no longer using.
Example Workflow: Form to Slack Notification
A simple beginner flow: trigger on a new form submission, then send a formatted Slack message containing the submitted details to a chosen channel. This takes most beginners under five minutes once both accounts are connected, and it’s a solid first flow to practise the trigger-action-test cycle before attempting anything more complex.
Common Mistakes to Avoid
- Publishing a flow before testing it with real sample data.
- Choosing a trigger event that fires more often than intended.
- Leaving fields unmapped, causing blank data to reach the action step.
- Forgetting to check run history, so failures go unnoticed.
Expert Tips for Better Flows
- Name every flow and step descriptively from the start.
- Build one step at a time and test as you go, rather than all at once.
- Use branches instead of duplicating near-identical flows.
- Review run history weekly, especially for business-critical flows.
- Document what each flow does for anyone who might maintain it later.
Frequently Asked Questions
Is Activepieces easy to learn for beginners?
Yes, its visual builder is designed to be approachable, with a clear trigger-then-action structure and a straightforward testing step before anything goes live.
Do I need coding skills to follow this tutorial?
No, everything in this tutorial can be completed through Activepieces’ visual interface without writing any code.
Can I use this tutorial for self-hosted Activepieces?
Yes, the flow-building steps are identical whether you’re using the managed cloud version or a self-hosted instance.
How long does it take to build a first flow?
Most simple flows, like a form-to-Slack notification, take under ten minutes once both app accounts are connected.
Can I add AI to my Activepieces flow?
Yes, Activepieces includes AI pieces for tasks like text generation and summarisation, which can be added as a normal step within any flow.
What happens if I don’t test my flow before publishing?
Untested flows risk failing silently on real data, so it’s best practice to always run a test with sample or real input before switching a flow on.
Can I edit a flow after it’s published?
Yes, published flows can be edited at any time, though it’s good practice to re-test after making changes before leaving it live again.
How do I add conditional logic to a flow?
Use a branch step to set a condition, which routes the flow down different paths depending on the data received at that point.
Where can I check if my flow is working correctly?
The run history section shows past executions of a flow, including any errors, which is the best place to monitor ongoing reliability.
Final Verdict
Activepieces keeps the learning curve low without sacrificing the flexibility of branches, AI steps, and proper testing before anything goes live. Following the trigger-action-test-publish cycle in this tutorial is enough to get almost any simple automation running confidently.
Once you’re comfortable with a basic flow, branching logic and AI pieces are a natural next step to explore. Check our related Activepieces guides for pricing details and how it compares with Zapier and Make.