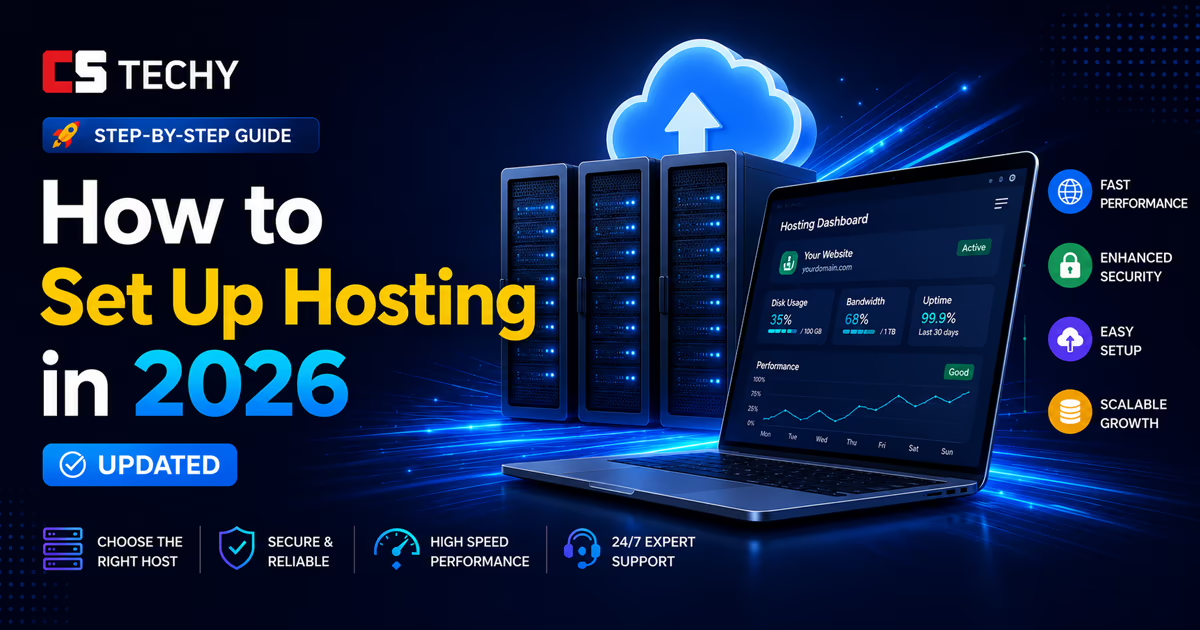
How to Connect to Your VPS (Step-by-Step Guide 2026) | CSTechy
How to Connect to Your VPS (Beginner-Friendly Guide)
Learning how to connect to your VPS is the first step to unlocking full control over your server. Whether you’re hosting websites, running automation tools like n8n, or managing cloud apps, VPS access gives you complete freedom. Most users connect using SSH (Secure Shell), which allows secure remote control of your server from your computer.
If you’re new and want a complete step-by-step setup, we highly recommend reading our ultimate n8n self-hosting guide . It covers everything from server setup to advanced automation, making it perfect for beginners and professionals.
To connect to your VPS, you typically need your server IP address, username (usually root), and password or SSH key. Tools like Terminal (Mac/Linux) or PuTTY (Windows) are commonly used. Once connected, you can install software, manage files, and run commands directly on your server.
✔ Important Things to Remember
- Always keep your VPS login credentials secure
- Use SSH keys instead of passwords for better security
- Ensure your server firewall allows SSH access (port 22)
- Use trusted tools like PuTTY, Terminal, or SSH clients
- Never share your root access details with anyone
The 2026 Gold Standard: What is SSH?
SSH (Secure Shell) is the “Remote Control” for the internet and is essential when learning how to connect to your VPS. It is an encrypted protocol that allows your computer to talk to your VPS over a secure channel. In 2026, password-based logins are slowly being replaced by SSH Keys, but for your first connection, the “IP and Password” method is still the starting point.
What You Need Before Starting:
- The IP Address: Found in your hosting dashboard (e.g.,
123.45.67.89). - The Username: Almost always
rootfor a new VPS. - The Password: The one you set during the VPS purchase/setup.
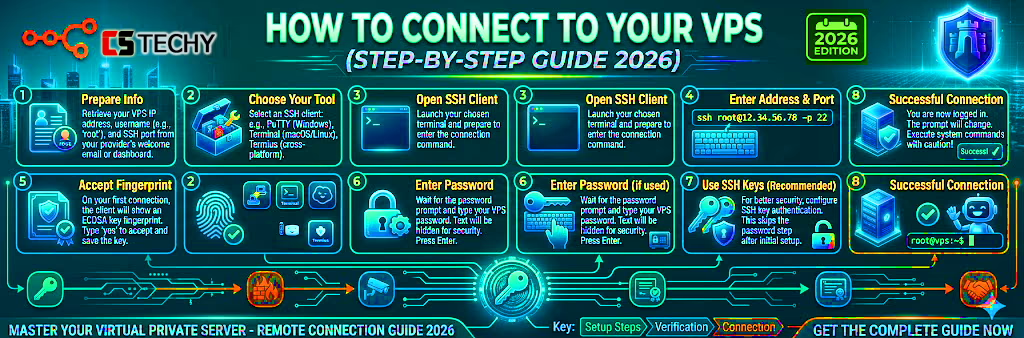
Method 1: Connecting via Windows, Mac, or Linux Terminal
Gone are the days when you needed to download bulky software like PuTTY (though it’s still around!). In 2026, every modern operating system has a built-in SSH client.
Step-by-Step Connection:
- Open your Terminal: On Windows, search for “PowerShell” or “CMD.” On Mac, press
Cmd + Spaceand type “Terminal.” - Type the SSH Command: Enter the following, replacing the IP with your own:
ssh root@your-vps-ip
- Accept the Fingerprint: The first time you connect, your computer will ask if you trust the “Host Fingerprint.” Type
yesand hit Enter. - Enter Your Password: Crucial Note: When you type your password in a terminal, you will not see any characters moving. This is a security feature. Just type it blindly and hit Enter.
If you see a welcome message like Welcome to Ubuntu 24.04 LTS, you are officially inside your server!
Method 2: Browser-Based Terminals (The “Emergency” Access)
What if you are on a public computer or a tablet and don’t have access to your terminal? Top-tier providers like Hostinger have built an “In-Browser Terminal” directly into their hPanel.
This is how to connect to your VPS without any software. Simply log into your Hostinger account, go to the VPS section, and look for the “Browser Terminal” or “Access Console” button. It opens a secure window that acts exactly like a local terminal. This is perfect for quick n8n restarts or checking server logs while on the go.
Method 3: The “Pro” Way – SSH Keys (No More Passwords!)
When learning how to connect to your VPS, upgrading to SSH Keys is the smartest move. Passwords can be hacked using brute-force attacks, but SSH keys are nearly impossible to break. That’s why in 2026, all CSTechy users should switch to SSH keys within the first week.
🔐 How SSH Keys Work (Simple Explanation)
- You create two keys on your computer
- Private Key → stays safe on your device (never share)
- Public Key → uploaded to your VPS server
- When connecting, the server matches both keys
- If matched → instant login without password
⚡ Why SSH Keys Are Better
- No need to remember passwords
- Much higher security than traditional login
- Faster and seamless connection
- Protects your VPS from hacking attempts
🛠 Easy Setup with Hosting Providers
- Hosting providers like Bluehost and MilesWeb support SSH keys
- You can upload your Public Key directly from dashboard
- No technical complexity – beginner-friendly setup
The First 5 Minutes: What to Do After Connecting to Your VPS
Now that you understand how to connect to your VPS, the next step is securing it immediately. A fresh VPS is vulnerable by default, so following these simple steps will protect your server from attacks and ensure smooth performance.
🚀 Follow These 3 Golden Rules
-
Update Your System: Always start by updating your server to install the latest security patches.
apt update && apt upgrade -y -
Change the Root Password: If your VPS provider gave you a default password, change it immediately for better security.
passwd - Set Up Firewall (UFW): Only allow necessary ports like SSH, HTTP, and HTTPS to block unwanted access.
ufw allow 22
ufw allow 80
ufw allow 443
ufw enable
These quick actions will make your VPS secure, stable, and ready for hosting applications like n8n, websites, or automation workflows.
Best VPS Providers for Easy Connection
Not all VPS control panels are equal. If you are a beginner, you want a host that makes the “Handshake” process simple.
Now that you have successfully established a connection, your immediate next priority is locking down the server from global threats. Follow our advanced guide to securing your n8n VPS setup against brute-force attacks.
- Hostinger: Best for their “Browser Terminal” and automated SSH key management.
- Bluehost: Best for their “Managed VPS” support—if you get stuck, they will literally walk you through the connection over the phone.
- MilesWeb: Best for raw SSH speed and dedicated IP stability in the Asian market.
Conclusion: You Are Now a Server Admin
Learning how to connect to your VPS is the first major milestone in your 2026 tech journey. You’ve successfully moved past the limitations of shared hosting and taken full control of your infrastructure. From here, you can install n8n, deploy Docker, or start your own AI-powered trading empire.
Now that you’re inside the server, the real fun begins. What will you build first?
How to Connect to Your VPS: FAQ
1. How do I connect to a VPS server?

You can connect to a VPS using SSH (Secure Shell). On Windows, tools like PuTTY or the built-in terminal can be used, while macOS and Linux users can connect through the terminal using the command:
2. What information do I need to access my VPS?
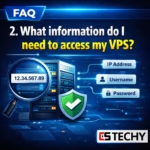
To connect to a VPS, you usually need the server IP address, username (often root), and either a password or SSH key provided by your hosting provider.
3. Can beginners connect to a VPS without coding skills?

Yes. Many hosting providers offer web-based control panels or one-click SSH access, making it easier for beginners to manage and connect to their VPS without advanced technical knowledge.
4. Why can’t I connect to my VPS server?
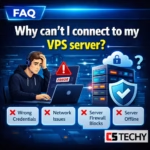
Connection issues usually happen due to incorrect login credentials, blocked SSH ports, firewall restrictions, or the VPS server being offline.
5. Is SSH the safest way to connect to a VPS?
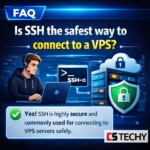
Yes. SSH is the most secure method because it encrypts the communication between your computer and the server, protecting login credentials and data during access.